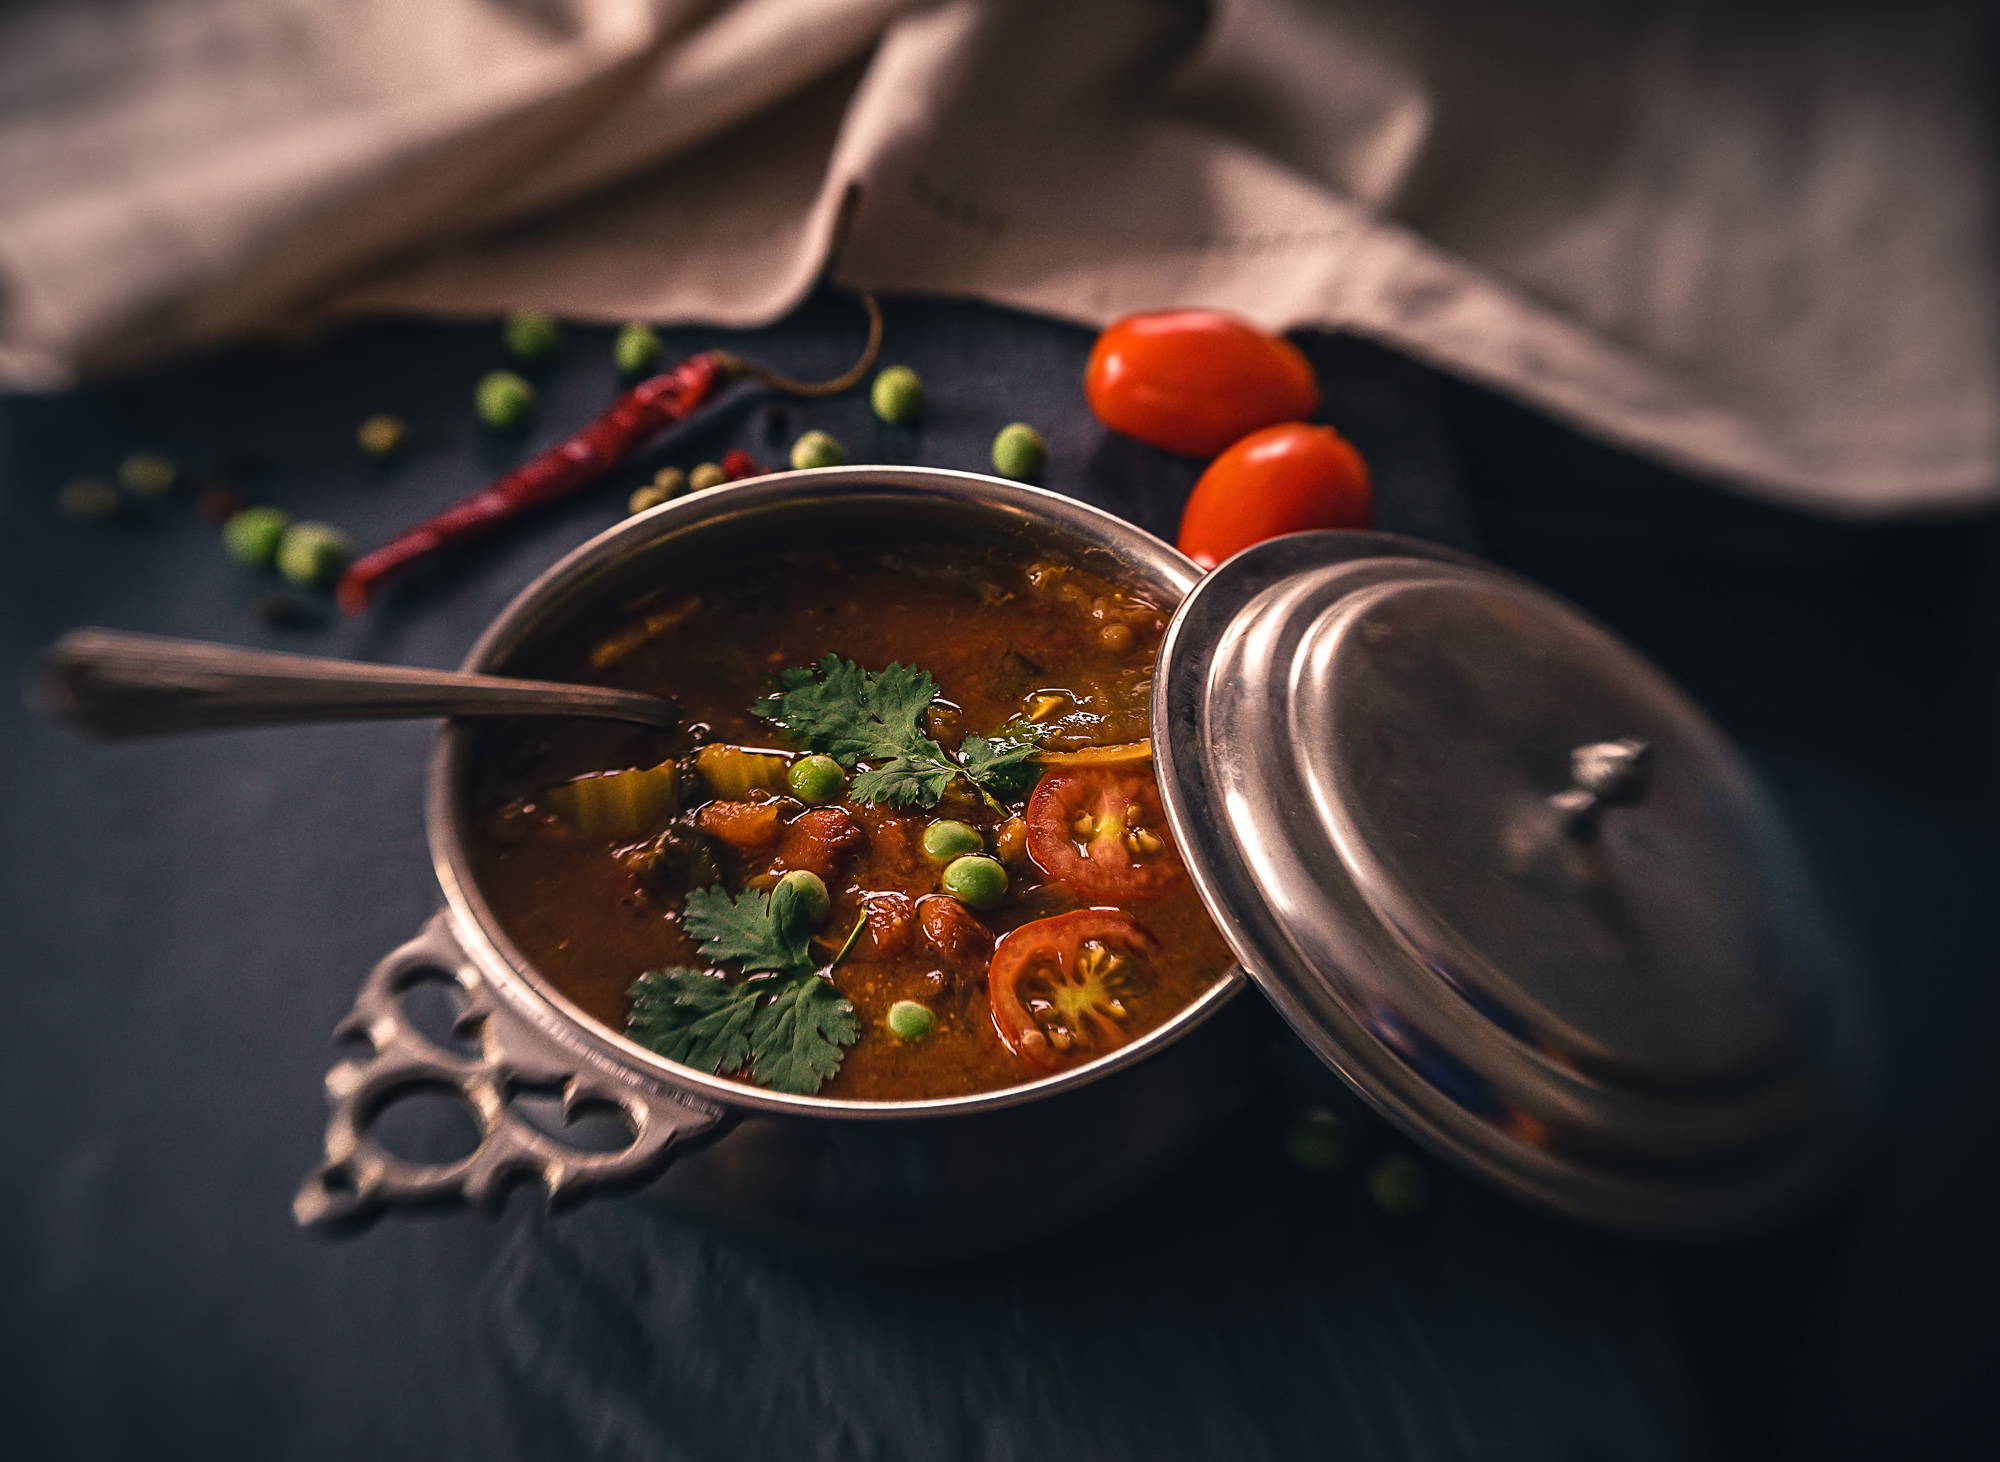
10 Tips for Capturing Mouth-Watering Food Photos
Capturing mouth-watering food photos is an art that requires a combination of technique and creativity. Start by choosing the right lighting; natural light is often the best choice for showcasing the vibrant colors and textures of your dishes. Position your food near a window or outdoors to create soft shadows and highlights. Experiment with different angles, such as top-down or side shots, to find the most appealing perspective. Remember, the goal is to entice your audience with a visual feast!
- Use Props Wisely: Enhance your food composition with props like utensils, napkins, or placemats.
- Mind the Background: Keep the background simple to avoid distractions from the main dish.
- Focus on Details: Zoom in on textures, sauces, and ingredients to convey freshness.
- Camera Settings: Use a low aperture to achieve a shallow depth of field.
- Post-Editing: Don’t shy away from editing tools to brighten colors and enhance details.
The Art of Food Styling: Making Your Dishes Shine
Food styling is an essential skill that can transform a simple dish into an enticing masterpiece. The art of food styling involves understanding colors, textures, and the presentation techniques that can elevate a meal from mundane to extraordinary. Start by considering the use of natural light; it can bring out the vibrant colors of your ingredients. Furthermore, using contrasting layers in your presentation—such as a white plate against colorful vegetables—can create visual interest. Don’t forget the importance of garnishes; they not only add flavor but also serve to enhance the overall aesthetics.
Another key aspect of food styling is the arrangement of components on the plate. Follow these fundamental principles to make your dishes shine:
- Balance: Ensure that you achieve a sense of balance and harmony by distributing elements evenly.
- Height: Create visual intrigue by stacking ingredients or adding height through elements like microgreens.
- Negative Space: Don’t be afraid to leave some space on the plate; it allows each component to breathe and enhances the overall appeal.
With practice and creativity, mastering the art of food styling will enable you to make your culinary creations not only delicious but also visually irresistible.
What Lighting is Best for Food Photography?
When it comes to food photography, natural light is often considered the best option for achieving delectable results. Shooting during the golden hour, shortly after sunrise or before sunset, provides a warm, soft light that enhances the colors and textures of food. To optimize the lighting, position your setup near a large window and use sheer curtains to diffuse the harsh sunlight, resulting in a more even, appetizing glow. Be aware of the direction of the light; side lighting can create attractive shadows, while back lighting can highlight transparency and freshness.
If you find yourself in a situation without access to natural light, artificial lighting could be a viable alternative. Using a combination of softbox lights and reflectors can mimic the effect of natural light, creating a pleasing atmosphere for your food shots. Consider using LED lights, which offer adjustable color temperatures to match the ambiance you're aiming for. Additionally, investing in a light meter can help you maintain consistent exposure and enhance the quality of your food photography, ensuring that your images are both inviting and visually appealing.